Your Cart is Empty


Inspect Paint and Remove Scratches & Oxidation
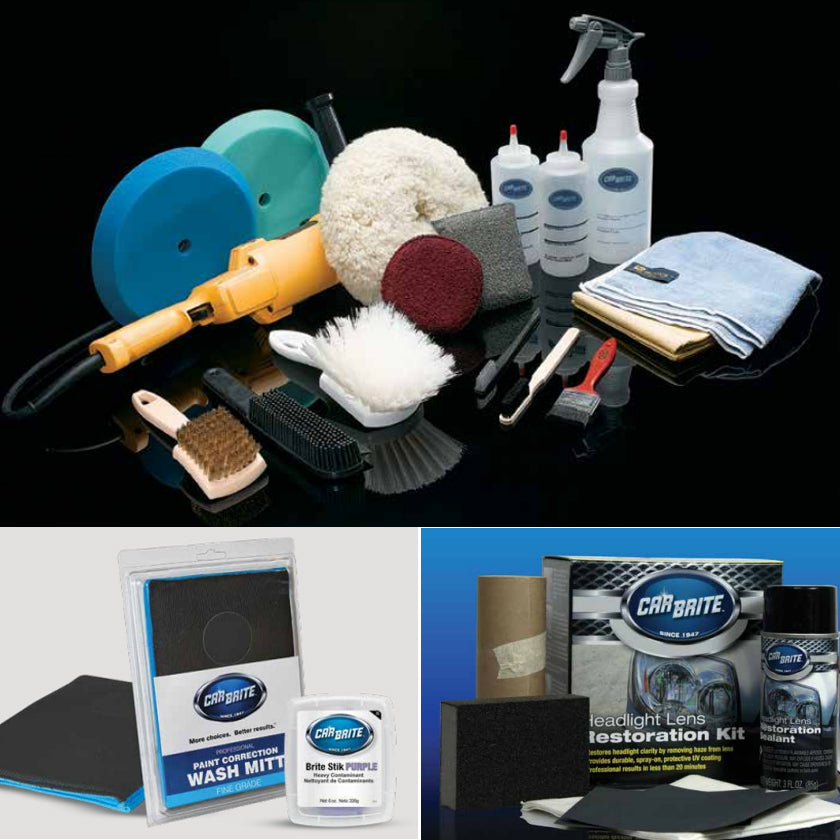
MATERIALS LIST:
- Preferred Compound
- Nitrile Gloves
- Applicator Pad
- Paint Thickness Gauge (If Available)
- High Speed Buffer and Pads
- Pad Cleaning Tool
- Microfiber Towels

STEP #1: Determine whether the vehicle has a conventional or basecoat/clearcoat paint system by hand applying a compound to an inconspicuous area of the paint. If color appears on the rag, the vehicle has a single stage paint system (which can be compounded aggressively). If not, it has a basecoat/clearcoat system (on which light to moderate buffing products should be used).

STEP #2: (Optional) Measure the thickness of the vehicle’s paint with a paint thickness gauge.

STEP #4: If the depth of the scratches and extent of the oxidation warrant it, compound the surface with a orbital polisher and cutting pad. Buff slowly in a 2’ x 2’ area, using a side-to-side motion. Start on speed level 2, do one pass, then increase to speed level 4.
PRO TIP: If you are working on high valued vehicles, it would a good practice to mask the wiper blades and cowling area with a damp towel to simplify residue removal. If you are worried about scuffing edges of areas, use masking tape. Tape is cheaper than paint.

STEP #5: Apply light pressure, keep the pad relatively flat on the surface or on a slight angle with the surface hitting the palm of the pad, not the edge. Start on dial 2, work product into surface, and then do a pass on dial 4, depending on the type of paint and the condition of the paint.
PRO TIP: Depending on your experience level, you can use the high-speed buffer, or the forced action random orbital polisher. You are less likely to burn the painted surface with the forced action random orbital polisher.

STEP #8: Remove all compounding residue with a soft, clean microfiber cloth.